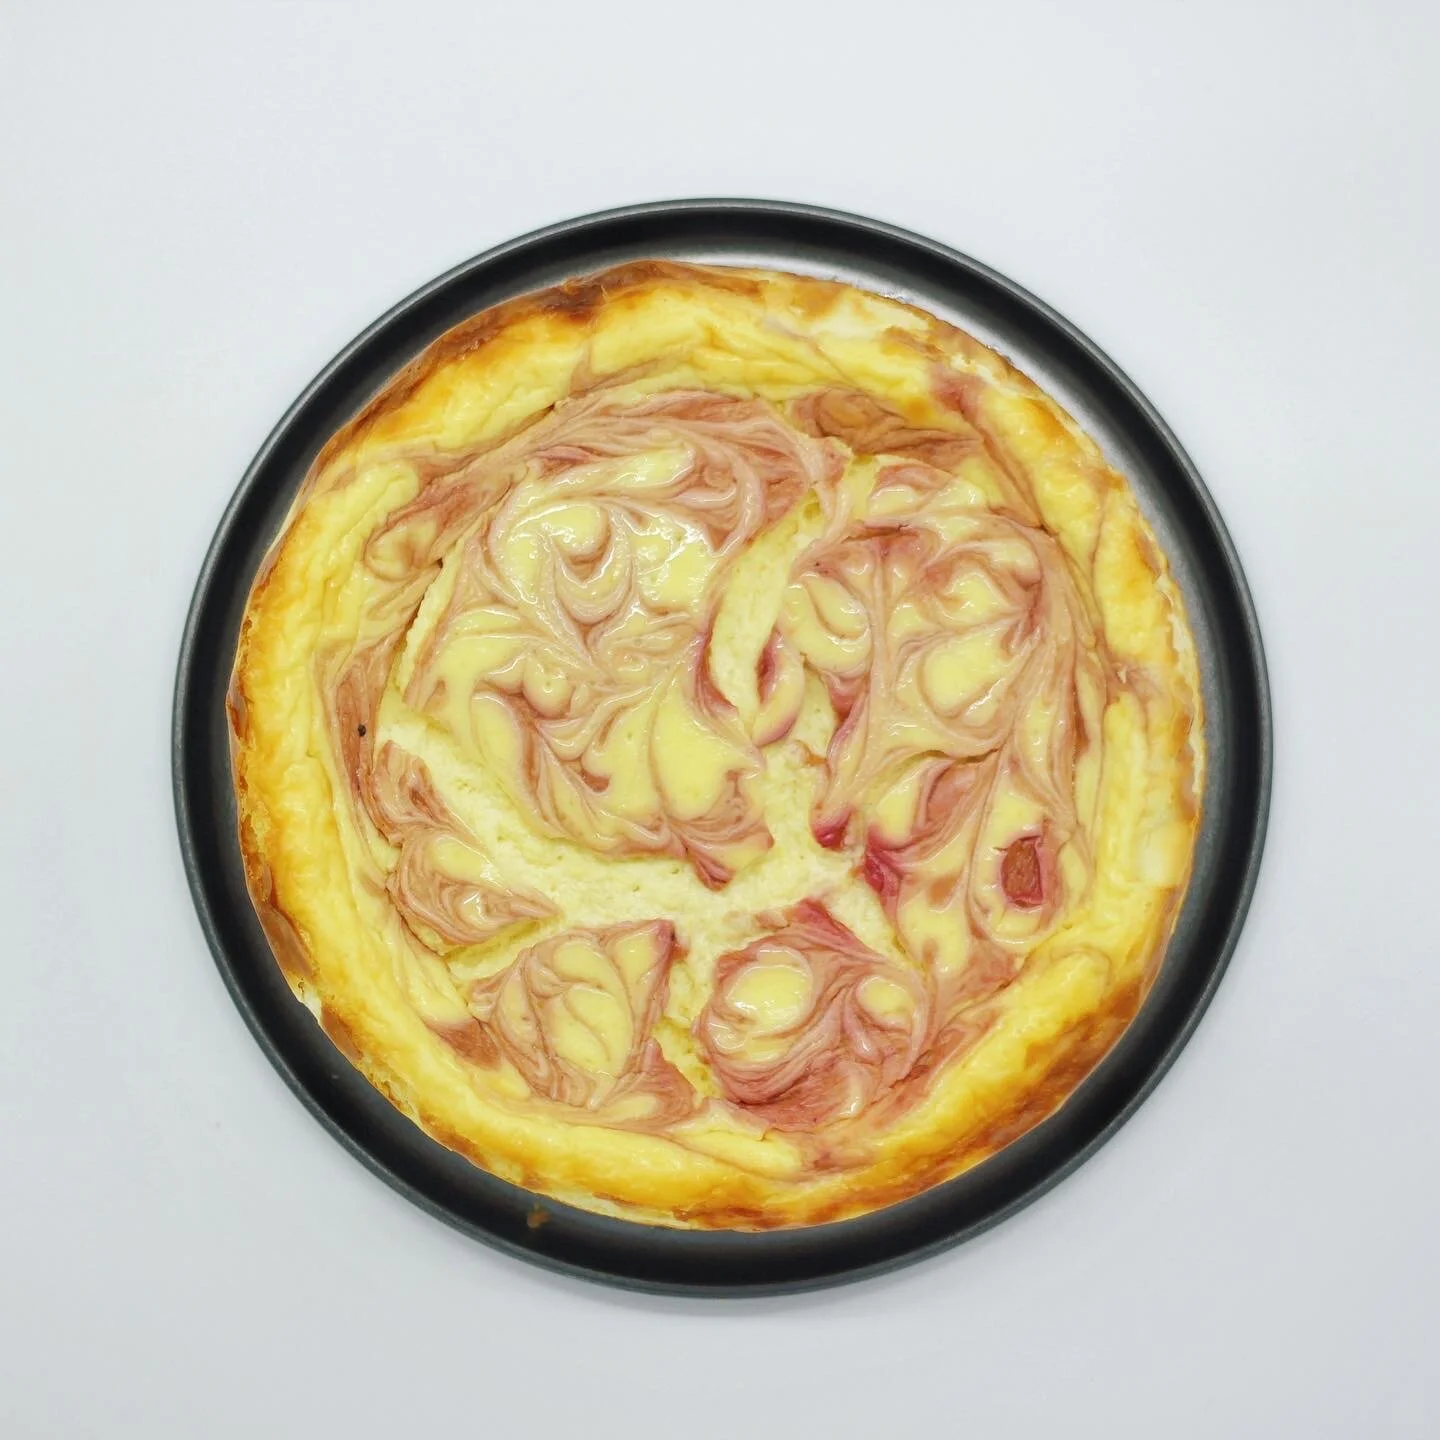
Keto New York Cheesecake: Baked Recipe
It is that time of the year when you are probably tempted to eat more sweet treats than normal, with all these December temptations everywhere. Therefore, keto treat recipes are more than welcome! Like this delicious, rich (keto) cheesecake, and if you are like me, you probably want to eat one every other week. This is a quick, delicious, simple, and easy recipe to make a classic New York-style cheesecake. One that tastes even better than a regular cheesecake that is full of sugar and crap! So enjoy this recipe without the guilt or surprise your Christmas guests ;)
Preparation time: 25 minutes
Baking time: 50-60 minutes
Cooling time: minimum of 4 hours, best overnight
How to make this keto New York cheesecake
Ingredients for a 9-inch baking form (around 8 servings)
Baking equipment needed
9-inch spring baking form
Baking paper or silicone baking mat
Staff mixer / whisk
A larger tray / form that will fit the baking form
Aluminum sheet
Base
170 grams almond flour
80 grams melted unsalted grass-fed butter
Pinch of salt
1/2 tablespoon erythritol
Filling (please make sure all the ingredients are at room temperature)
500 grams full fat cream cheese
1 teaspoon baking powder
3 tablespoon full fat sour cream
3 tablespoon erythritol
2 large eggs
1 teaspoon vanilla extract
1/2 teaspoon lemon zest
A handful of raspberries and 1 teaspoon erythritol
Instructions
Part 1: Making the base
Preheat the oven to 170 Celsius degrees.
In a large bowl, mix the almond flour, erythritol, melted butter, and salt together until you form a clay / dough-like consistency.
Line your baking form with baking paper on the bottom and on the side. Tip: use a bit of butter to make the paper stick to the baking form.
Put in the mix and using a heavy bottom glass, spread it evenly over the baking form and create a slight wall around the rings.
Baking the base in the oven for 10 minutes. Once done, take it out of the oven and let it cool down, ideally just throw it in the fridge while you start preparing the filling.
Part 2: preparing the filling
Melt cream cheese for about 20 seconds in the microwave, on low power.
In a bowl mix the cream cheese, sour cream, vanilla extract, baking powder, lemon zest, and erythritol. Mix thoroughly until well combined.
Now add one egg at a time and mix until well mixed. Do a quick taste test to see if it is sweet enough for your preference, if not add a bit of Erythritol until it hits that sweet spot!
Now pour this mixture into the baking form with the cooled base. Give the form a good few taps to make sure there are no air lumps in it.
Now put the raspberries along with the sweetener and a tablespoon of water into the microwave until its cooked, so you can make a coolie out of it. Do strain out the pulp so you do get any seeds in your cake.
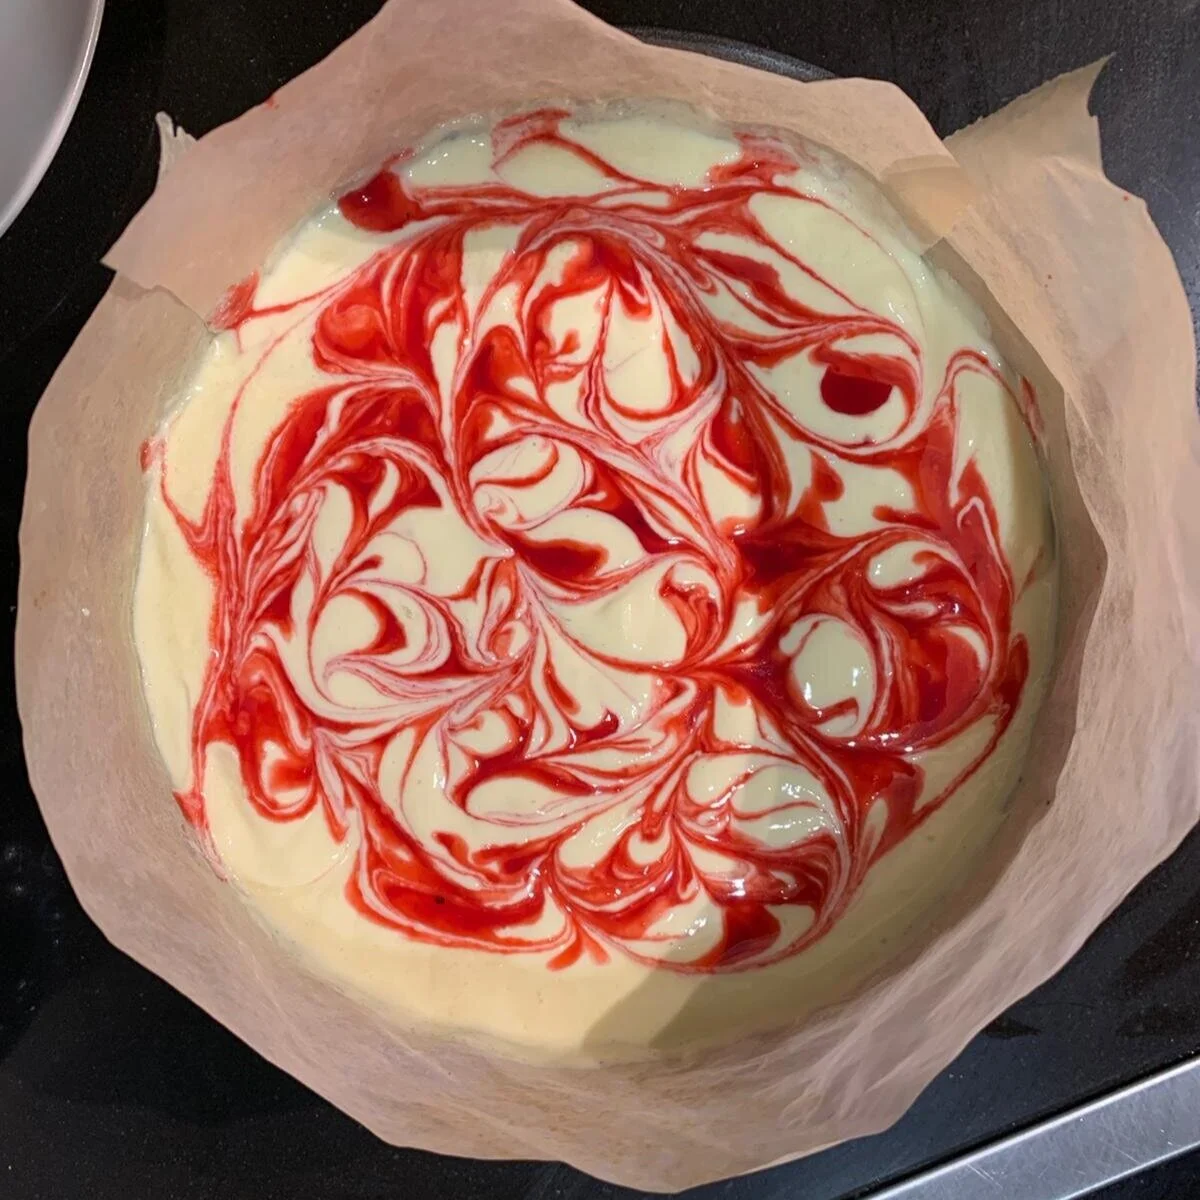
Now take a spoon and randomly drop this coolie in blobs around the cake. Then take the end of a spoon and swirl in an 8 form around the cake to form the raspberry swirls on the surface of the cake.
Now taking the aluminum form, wrap your baking form twice so that the water from the water bath does not seep in in any way.
Take the big tray and pour boiling water into it and then carefully place the baking form in it. (This is called the water bath)
Now bake at 170 Celsius degrees for 50-55 minutes. Whatever you do, do not open the oven door during the baking time. At the end of the time, check the cheesecake by pushing a toothpick into the middle of the cake. If it comes out clean, you are good to go. Now, with the cake inside the oven, switch off the oven and keep the door slightly open and naturally let the oven cool down.
After the oven has completely cooled down, remove the cake and let the cake sit outside the oven for another 30 minutes before putting it in the fridge to set, ideally overnight and if extremely impatient then minimum 4 hours.
Remove from the fridge and enjoy over 2-3 days or if you are like us then you finish it in a day :)
What is your best sweet keto creation?
When you crave something sweet? Leave your favorite recipe below in the comments or tag us on Instagram @myndfuel!


